Connecting My Domain with Route 53
Part 3 of my AWS Cloud Resume Challenge
After getting my website content hosted in an S3 bucket, the next step was giving the site a real domain name. Instead of accessing the site through the long S3 website endpoint, I wanted visitors to simply type jonathanlayman.com.
To accomplish this, I used Amazon Route 53, AWS's managed Domain Name System (DNS) service. DNS functions like the phonebook of the internet. When a user types a domain name into their browser, DNS translates that human-readable name into the network location of the server hosting the website. In this stage of the Cloud Resume Challenge, I used Route 53 to connect my domain to the S3 static website endpoint that serves the content stored in my bucket.
Step 1: Registering the Domain
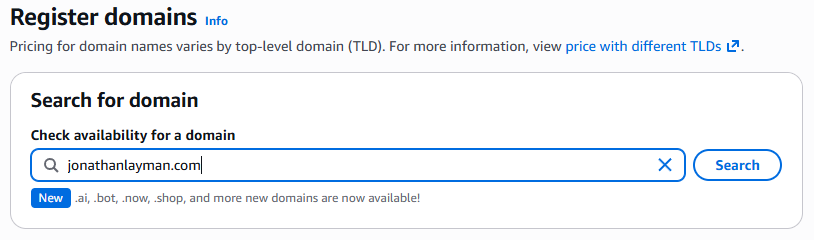
Before I could direct any traffic to my website, I first needed to own the domain. I chose to registerjonathanlayman.com directly through Amazon Route 53. Keeping the domain registration inside AWS simplifies the integration with other services later in the project. In the Route 53 dashboard, I navigated to Registered Domains and purchased the domain. During the registration process, Route 53 can automatically create a Hosted Zone for the domain. The hosted zone stores the DNS records that control how traffic is routed to the domain. This is where the records live that tell the internet where requests for jonathanlayman.com should be sent. The most important records inside a hosted zone are A records, AAAA records, and CNAME records, which determine how traffic is directed to infrastructure such as servers, load balancers, or AWS services.

Step 2: The S3 Naming Rule
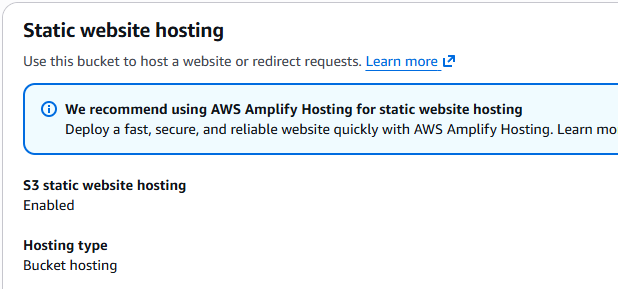
There is one specific rule that trips up a lot of people: For the S3 static website endpoint to work directly with a root domain, the bucket name must exactly match the domain name. This is because the S3 website endpoint uses the bucket name to determine which site content to serve.- Verification: I made sure my bucket was named
jonathanlayman.com. - Static Hosting: Inside the S3 console under the Properties tab, I confirmed that Static Website Hosting was enabled and noted the provided endpoint URL.

Step 3: Creating the Alias Record
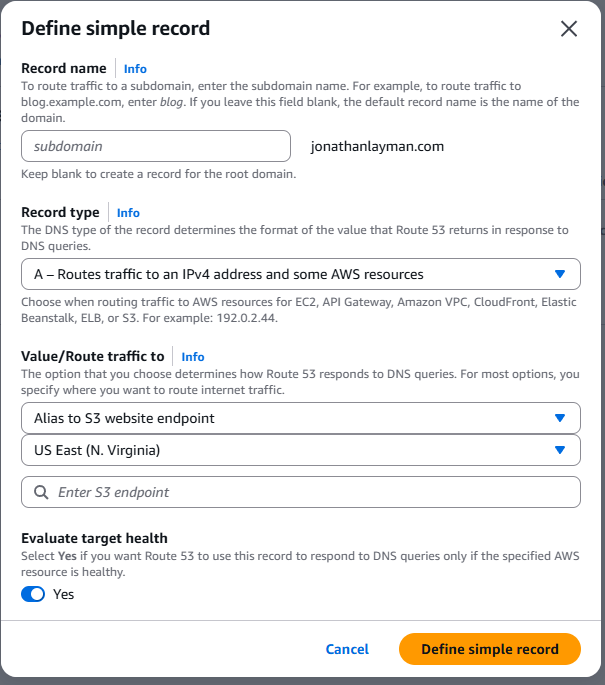
With the domain registered and the S3 bucket configured for static hosting, the next step was creating a DNS record that tells the internet where my website lives. Inside the hosted zone forjonathanlayman.com, I created a new record with the following settings:
- Record Type: A — IPv4 address
- Alias: Enabled
- Route Traffic To: Alias to S3 website endpoint
- Region: The region where my S3 bucket was created
Instead of using a traditional CNAME record, AWS provides an Alias record, which allows a root domain (such as jonathanlayman.com) to point directly to AWS resources like S3 or CloudFront. This is important because standard DNS rules normally prevent CNAME records from being used at the root domain.
At this point I also created a matching AAAA (IPv6) Alias record. While the S3 website endpoint itself does not natively support IPv6, this will become useful later when the domain is routed through CloudFront, which supports IPv6 natively.
Step 4: Verification and Propagation
Once the record is saved, you have to wait for the DNS changes to "propagate" across the internet. DNS propagation can technically take up to 48 hours, though in practice Route 53 updates usually become visible within a few minutes.- Testing: I used the terminal command
dig jonathanlayman.com +shortand kept refreshing my browser. - Success: Eventually, typing
jonathanlayman.cominto the address bar successfully loaded my index page from S3.